
Cortex | Administration | Single Project KPI Views
Manage single project KPI views (Administration)
 Only users who are set up as administrators in Cortex have access to this feature.
Important. If you do not have any active KPI (key performance indicator) views configured, end-users do not see KPIs on the single project page.
Learn more about single project KPI views
KPI (key performance indicator) views have group rows, details rows, and columns. As the name implies, group rows are used to organize detail rows into groups. The row and column descriptions are just text; they are not tied to fields in Cortex Project History. In the cell where a row and column intersect, you select a field from the project field list or a KPI function (a KPI function uses basic math operators and fields to calculate cell values.) to determine the value that appears in the cell.
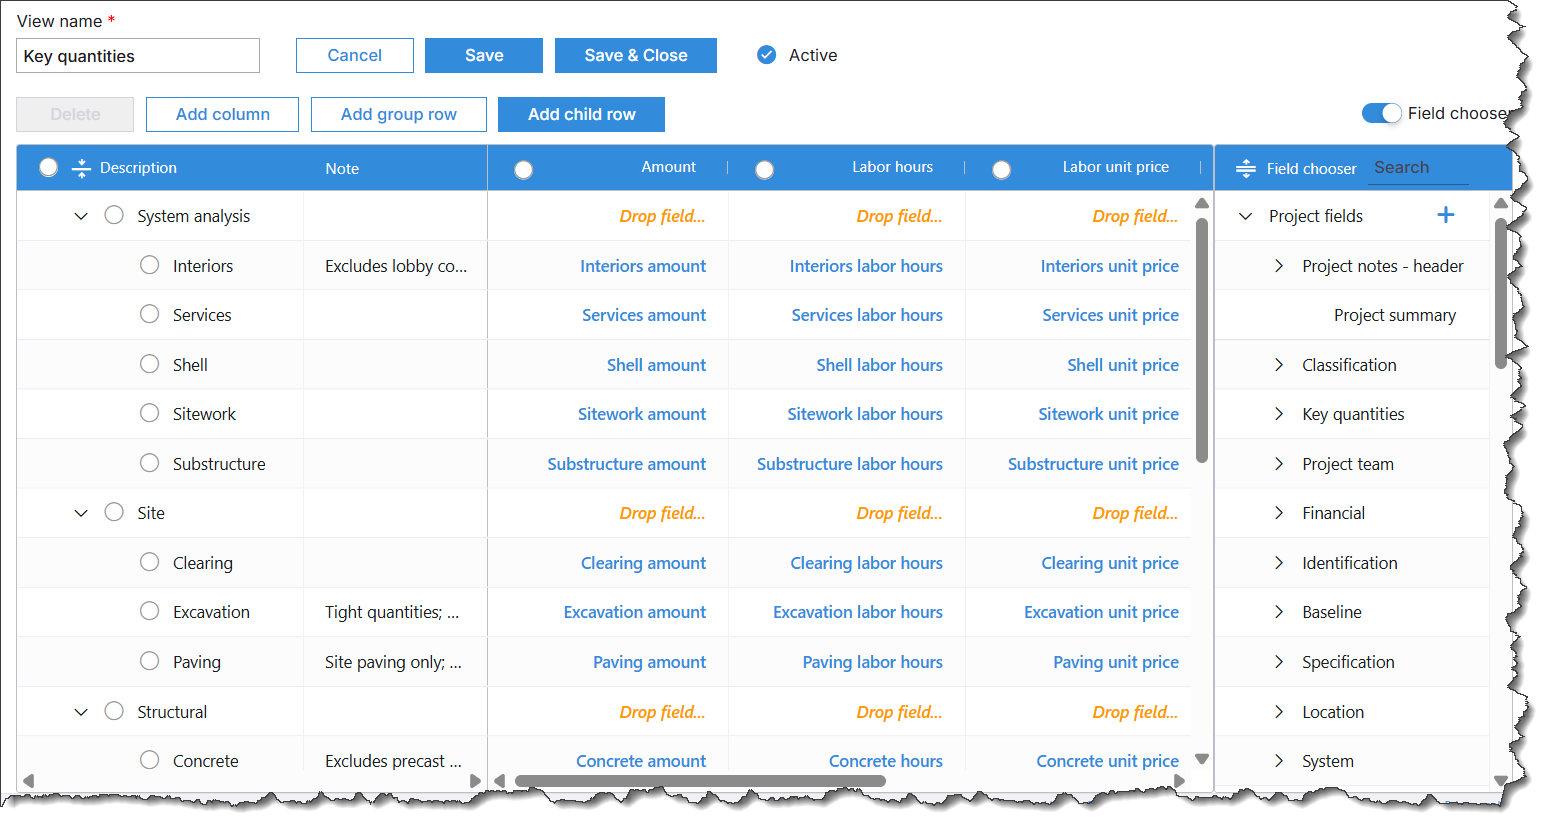
To save a new KPI view, it must have at least one group row, one detail row, one column, and one field selected.
When you modify a KPI view, users see the KPI view changes when they refresh the browser window.
How do I?
Open the Administration module
Click  and select Administration from the menu. The Administration module opens in a new browser tab.
- In the Administration module, click Views > KPIs in the options list.
- Click Add. Cortex populates the grid with several group rows and detail rows to give you a head start on building the view. Click on the Program / Project tab or the Subprojects tab to view available options.
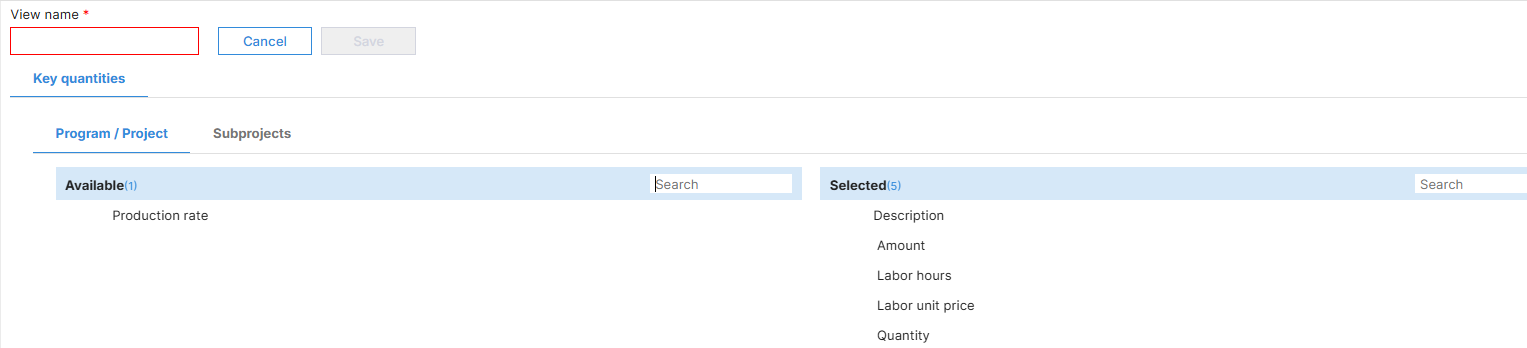
- Enter a name for the view in the View name box.
- Add or modify rows:
- To change the description for a group row or detail row, click in the description and modify it as needed.
- To add a group row to the bottom of the view, click Add group row. Enter a description for the group row.
- To add a detail row to a group row, select the detail row where you want to insert the new row, and then click Add detail row. Cortex adds the new row below the selected row. Enter a description for the row. Enter an optional note (popup note displays when hovering on the detail row in the view), if desired. For example, enter a note to explain the purpose of the detail row.
- To delete a row, select the row check circle, click Delete, and confirm the deletion.
- Add or modify columns:
- To change a column heading, click in the heading and modify it as needed.
- To add a new column to the right of the selected column, click Add column. Enter a description for the column.
- To delete a column, select the column check circle, click Delete, and confirm the deletion.
- Populate cells for group rows and detail rows with project fields or KPI functions.
- Move the Field chooser switch (located above the grid on the far right) to the on position. A list of project fields and KPI functions opens on the right side of the grid.
- Use the grab dots (
 ) to drag the desired project field or KPI function and drop it in the cell. Expand and collapse field groups and use the Search box at the top of the list to help locate specific fields or functions.
Tip
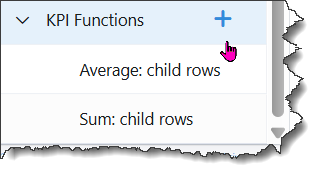
Cortex comes with KPI functions named Average: child rows and Sum: child rows for your use. You can use these functions in a group row to aggregate the detail (child) rows for a column and display the total in the group row cell.
You can add additional project fields and KPI functions, or edit them as needed.
When would I want to create a project field versus a KPI function?
- If you want it available for use elsewhere in Cortex, for example, a single project, or a project collection, create a project field.
- If you want to use it only in this view and/or you need a value calculated, create a KPI function.
Add/Create a KPI function
- Scroll down to the bottom of the Field chooser column and click the Add icon (
 ), located next to the KPI functions list. The Add KPI Function window will open.
- In the Name box, enter a unique name for the function.
- From the Type list, select the applicable type. These are the same field types that are available when creating a project field in Administration > Fields > Project fields.
- Complete the remaining fields in the Add KPI Function window. The available fields vary based on the selected field type. For more information, seeManage project fields (Administration) and Add or edit expressions for fields (Administration).
- To save the function, click Save & close.
Edit a project field
Editing a project field in a KPI view is just like editing a project field in Administration > Fields > Project fields.
- In the Field chooser, right-click the project field and click Edit in the shortcut menu.
- Modify the field as needed.
- To save your changes, click Save & close.
Edit a KPI function
- In the Field chooser, right-click the KPI function and click Edit in the shortcut menu.
- Modify the KPI function as needed.
- To save your changes, click Save & close.
Copy and paste values between cells
- Right-click the value you want to copy and click Copy on the shortcut menu.
- Select the cells where you want to paste the value and press CTRL+ V. (For example, select all the cells in a column.)
- When you finish setting up the view, click Save.
Edit KPI views
- In the Administration module, click Views > KPIs in the options list.
- Select the Program / Project tab or the Subprojects tab to edit.
- Select the view you want to modify and click Edit.
- Change the view as needed.
- When you finish modifying the view, click Save.
Copy KPI views
- In the Administration module, click Views > KPIs in the options list.
- Select the Program / Project tab or the Subprojects tab to edit.
- Select the view you want to copy and click Copy.
- In the View name box, enter a name for the view.
- On each tab, drag fields between the Available list and the Selected list to determine the information that displays for this view. Expand and collapse field groups and use the Search box at the top of the list to help locate specific fields.
- Click Save.
Delete KPI views
- In the Administration module, click Views > KPIs in the options list.
- Select the Program / Project tab or the Subprojects tab to edit.
- Select the view you want to delete.
- Click Delete and confirm the deletion.
The Views > Single project > KPIs option is not available in Cortex 365. Administrators cannot manage (add, edit, or delete) KPI views in Cortex 365.